Tiny Sewing Case with the Little House Block - Tutorial
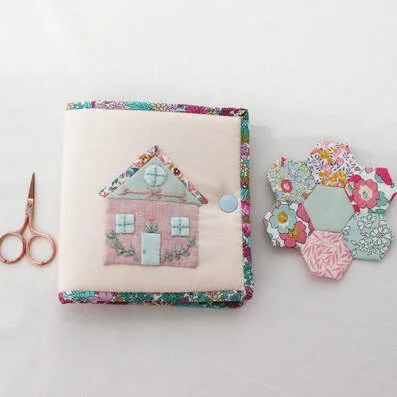
Hello! Today I am here with a little tutorial for how to make this tiny sewing case which is perfect for carrying around tiny stitching projects. The case has the little house block appliquéd onto it. You will find the templates for the house and the video showing how to make it here.
To make the tiny sewing case, you will need:
2 pieces of quilting cotton for the exterior and interior of the case, measuring 10 1/2" wide by 5 1/2" tall.
A piece of foam measuring 10 1/2" wide by 5 1/2" tall.
2 pieces of cotton for the pocket measuring 10 1/2" wide by 4 1/4" tall.
1 piece of iron on interfacing for the pocket measuring 10 1/2" wide
by 4 1/4" tall
1 piece of felt measuring 8 1/2" wide by 4 1/2" tall
A strip of fabric to bind the pocket measuring 2" wide by 11" long
Bias binding to bind the entire case. Choose any width you like but mine was double fold measuring 1" wide. It needs to be 37 1/2" long.
A snap fastener
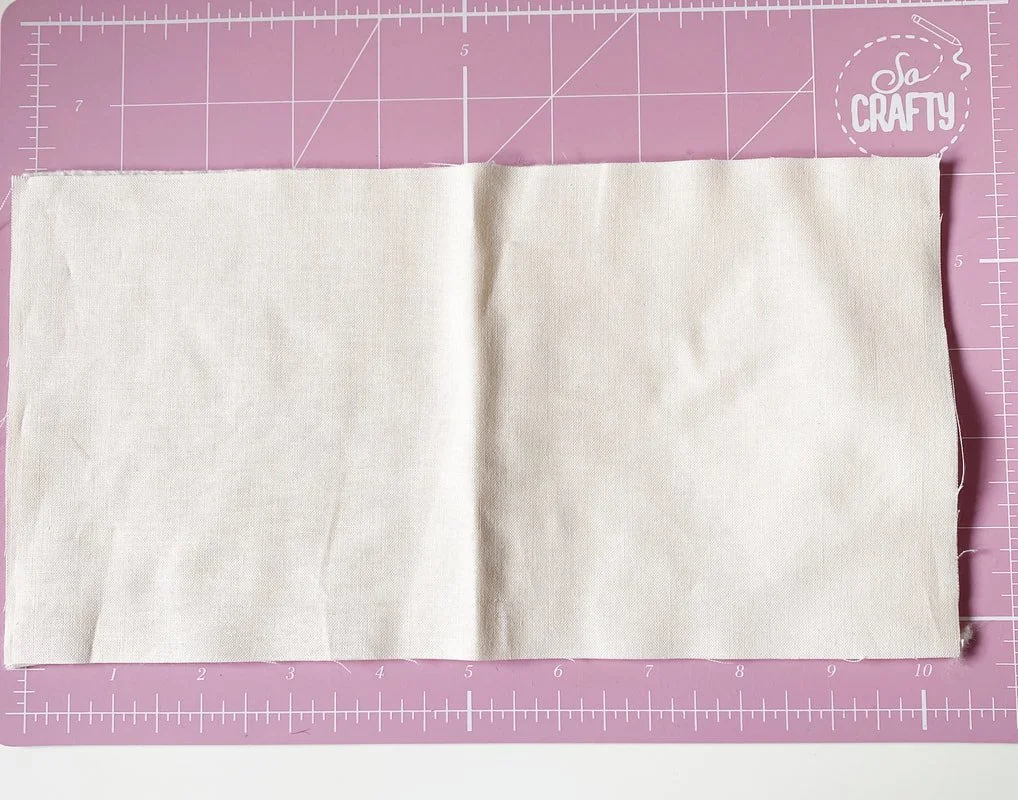
1. Take one of your pieces of cotton that measures 10 1/2" wide by 5 1/2" tall and find the centre by creasing it.
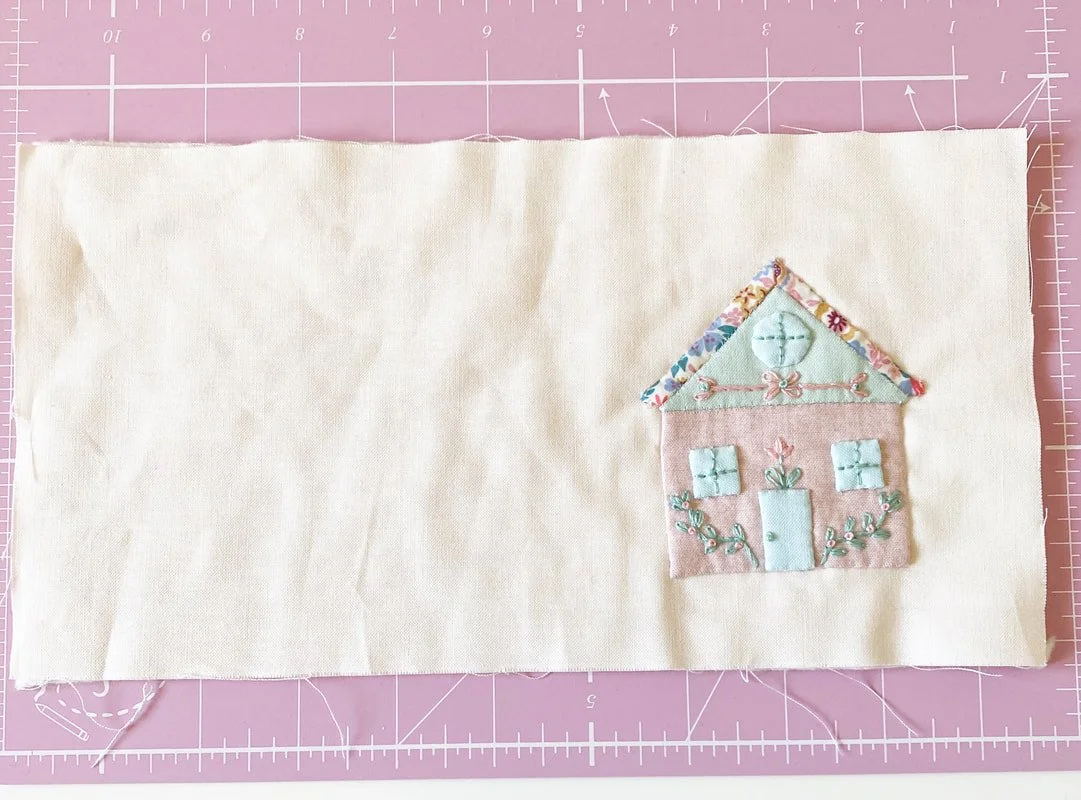
2. Applique your little house block to the right hand side.
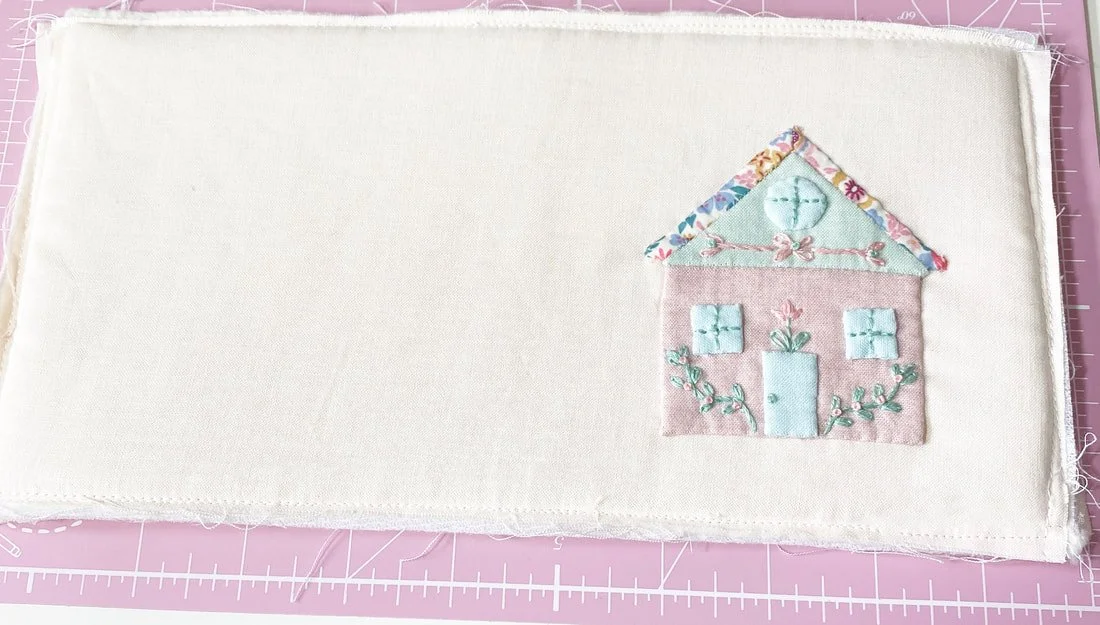
3. Create a quilt sandwich by placing your other piece of cotton measuring 10 1/2" wide by 5 1/2" tall right side down, place the foam on top and then your piece with the house on top of that. Pin in place and sew all the way around the edge using a 1/4" seam allowance to secure the layers.
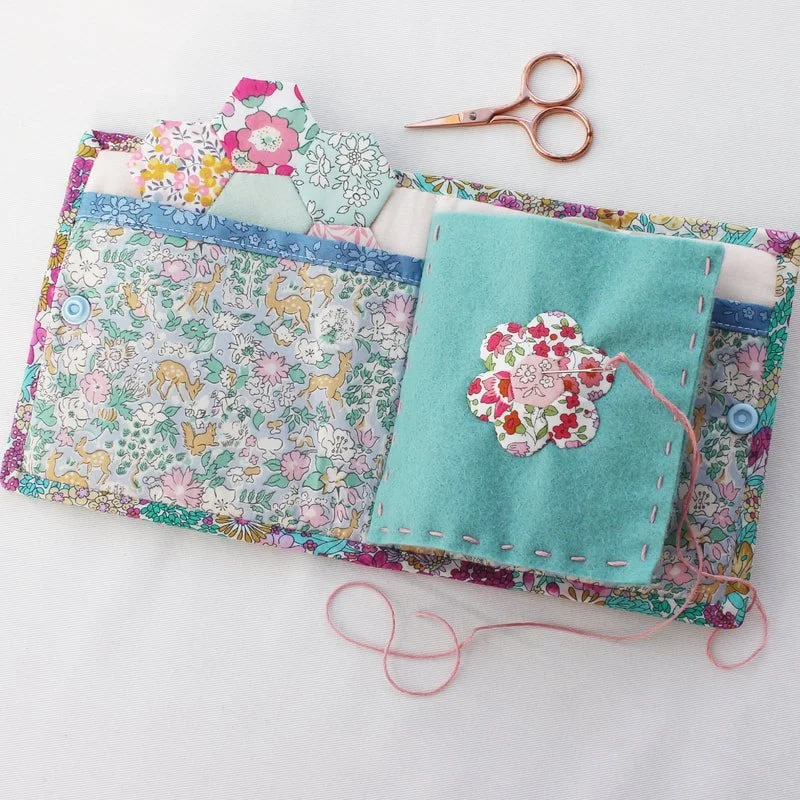
4. Next construct your pocket. Iron the interfacing to one of your pocket pieces. Place the two pieces of pocket fabric wrong sides together, pin and sew all of the way around the edge with 1/4" seam allowance.
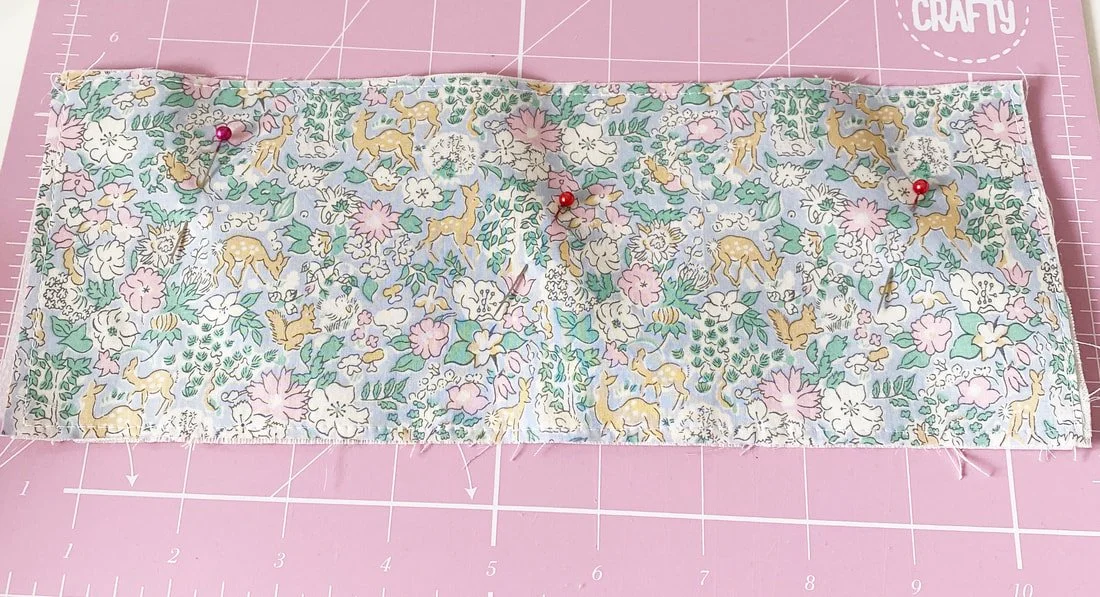
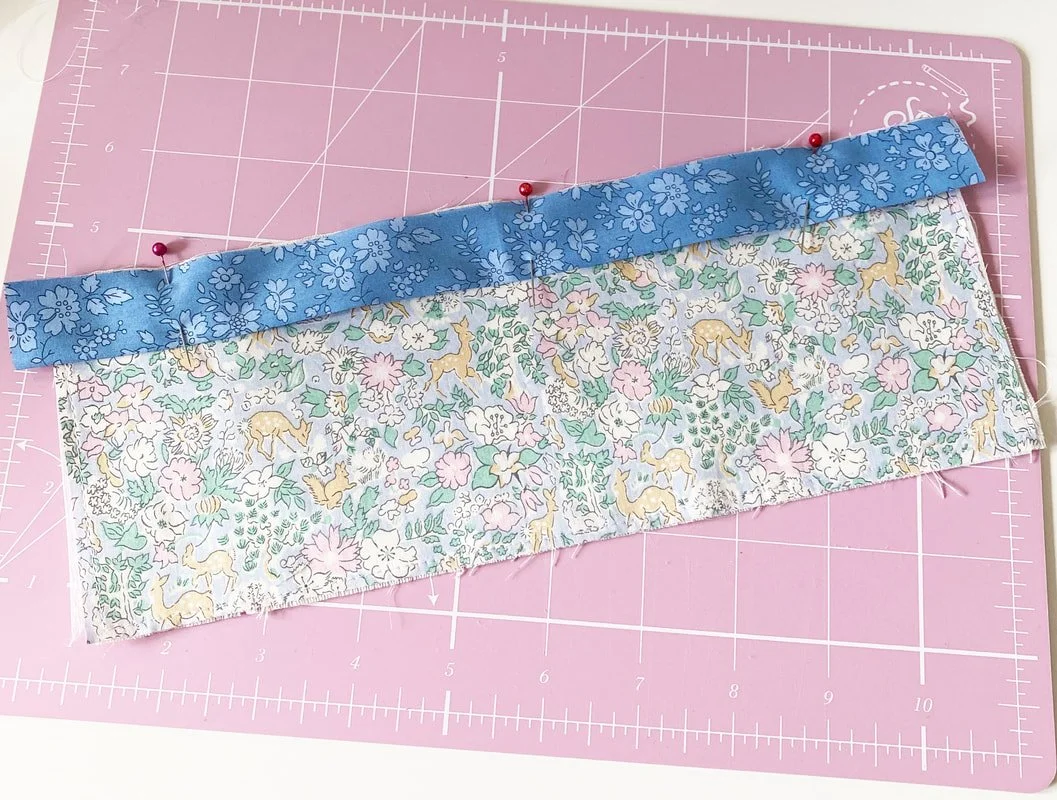
5. Press your pocket binding piece in half length ways with the wrong sides facing each other. Line up the raw edge with the raw edge of the top of your pocket piece. Pin in place and sew with 1/4" seam allowance.
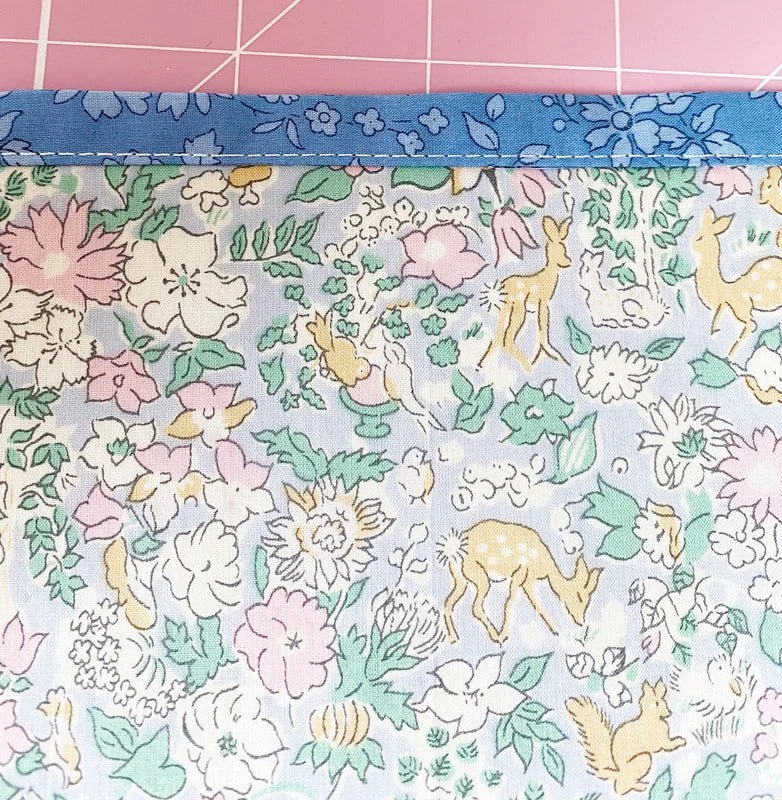
6. Fold the binding to the back and sew in place with 1/4" seam allowance or by hand if you prefer.
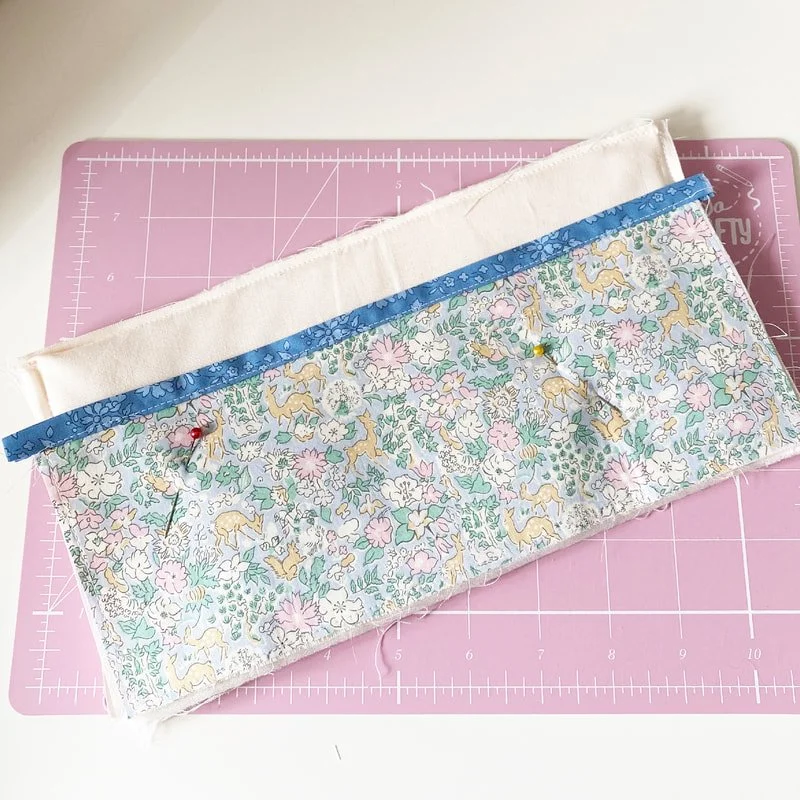
7. Place your exterior piece with the house on face down and put your pocket on top with the right side of the pocket facing up. Align the pocket with the bottom edge. Secure the pocket in place by sewing a 1/4" seam around three sides
8. Measure 5 1/4" in from one side to find the middle and stitch down the middle of the pocket to split it into two pockets. Tip - I used a Hera marking tool made by Clover to mark the central line to give me an accurate sewing guide. This is a great tool because it makes a crease in the fabric which is not permanent so you don't risk ruining the fabric.
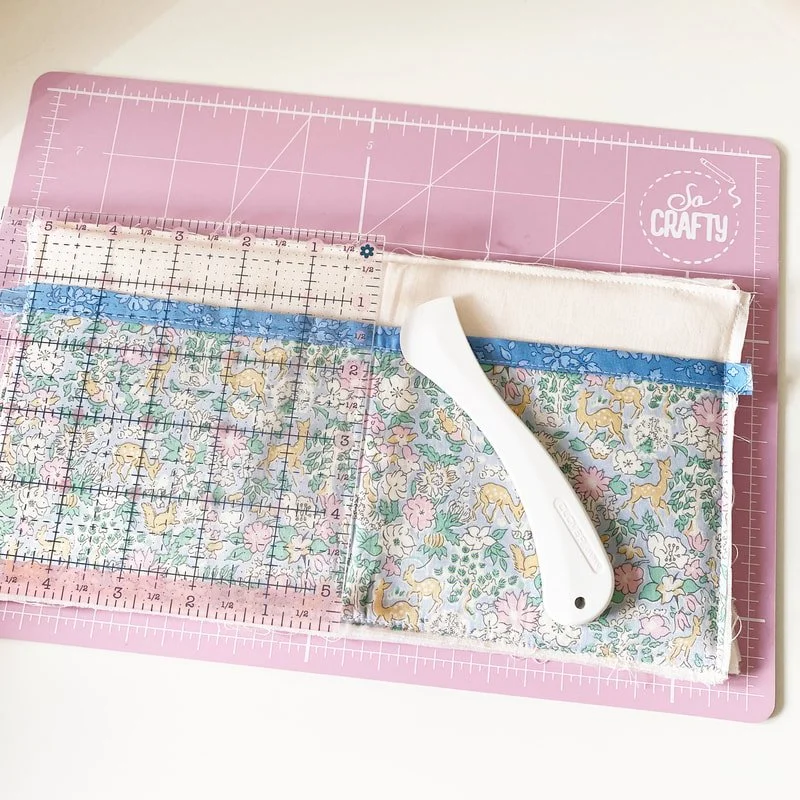
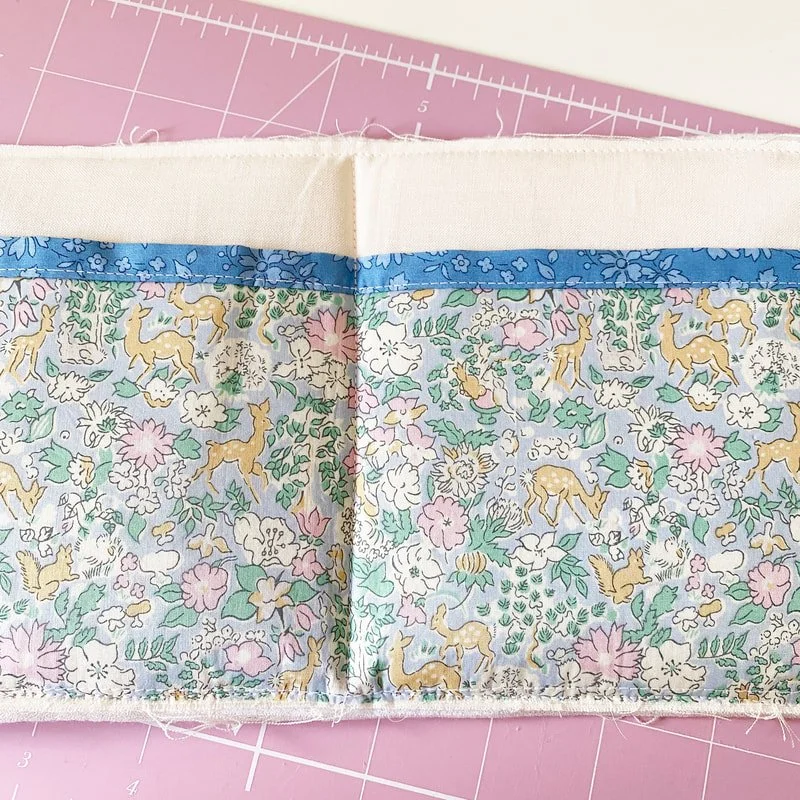
9. Next fold your felt in half width ways and open again to find the centre and place it on top of the centre line you just sewed down the middle of your case. Make sure the felt is equidistant from the top and the bottom. Sew down this line to secure it in place.
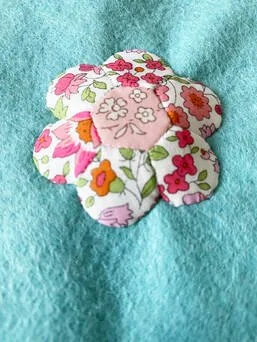
10. I appliqued an EPP flower to the front of my felt and stuffed it with toy filling before sewing all of the way round so that the flower can be used as a needle stop. You could do this with a hexagon flower if you prefer.
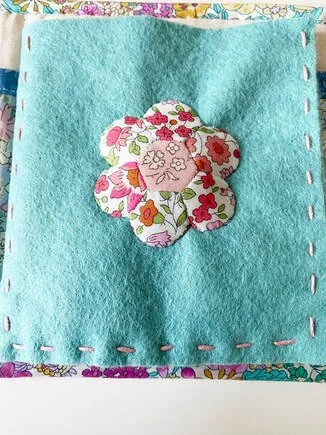
11. Line up both parts of your felt pocket and add a running stitch around three sides to keep the two pieces together and to form a pocket.
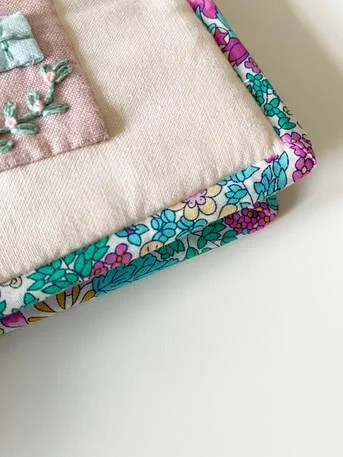
12. Apply bias binding around the entire edge of the case. Finally add a snap fastener of closure of your choice and the case is complete!
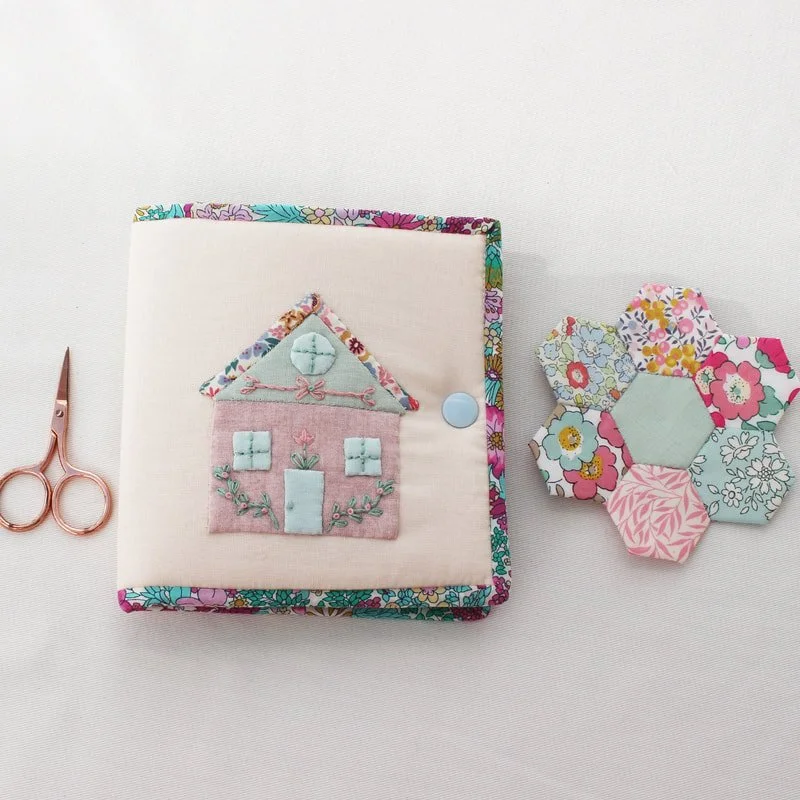
I hope you liked this little tutorial and I really hope you enjoy making the case if you do give it a go. I think I will definitely be making another one soon! They make lovely little gifts for sewing friends.
Take care, until next time, happy sewing!