Starting your first quilt - Part 2 - Materials
I've been sharing on Instagram a small quilt I've been making and I think it's perfect for beginners. It is the ideal size to be used in a pushchair/buggy or for a child to use with dolls and teddies as it measures just 26 inches wide and 34 inches long. I've created it using a simple nine patch block and I repeated that throughout the quilt, separating the blocks with sashing.
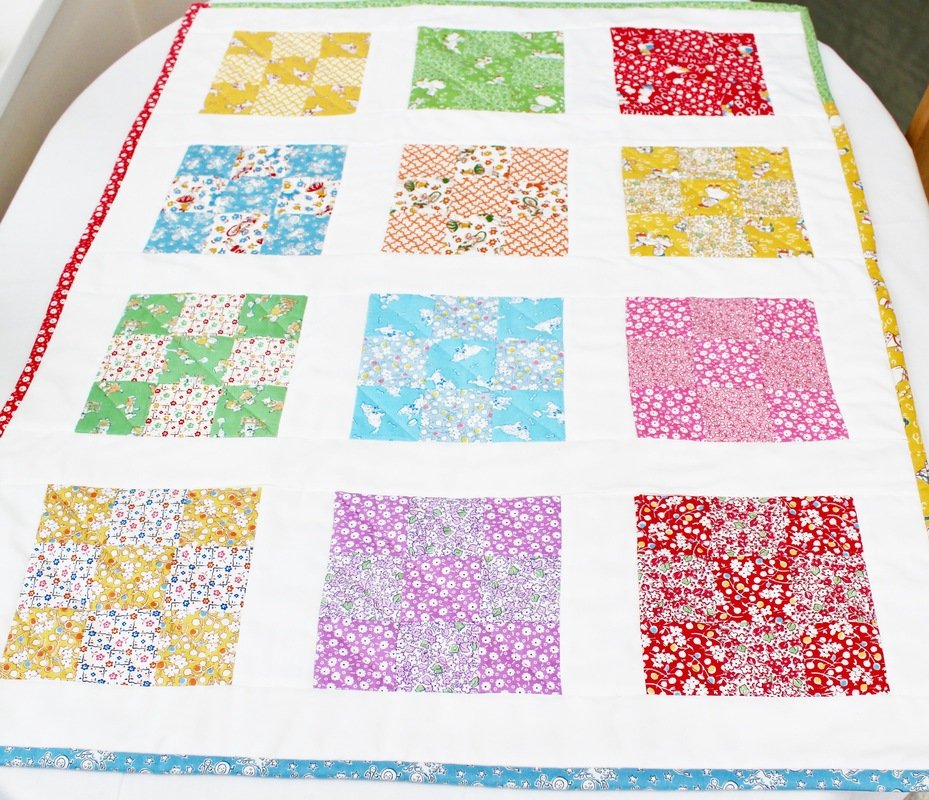
What's nice about this quilt is that you can easily make it larger if you wish and also, the nine patch block looks more complex than simple squares, but it really isn't hard to do at all. As a beginner, you'll learn some useful techniques that will have you feeling confident enough to tackle your next quilt.
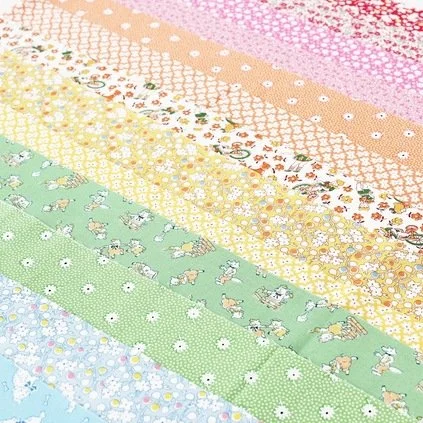
It's entirely up to you how you make this quilt. You can play around with fabrics, colours and size. To keep it simple, I will provide a list of what I used.
A jelly roll - a jelly roll comprises of 2.5 inch wide strips of fabric. Each strip is usually 44 inches long. For each block I used two different fabrics to contrast with each other. Therefore you will need a 12.5 inch strip of one colour and a 10 inch strip of the other for each block. These need to be cut into 2.5 inch squares which is so easy to do because your strips are already 2.5 wide! There are 12 blocks so 24 colours or different fabrics.
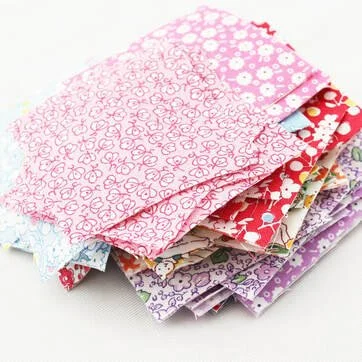
Sashing- I used cream cotton for this. Each sashing strip is 2.5 inches wide. You need 16 strips of sashing that are 6 inches long and 2.5 inches wide, and 5 strips that are 27 inches long and 2.5 inches wide. You can always make your strips a little bit longer and trim them afterwards, just to be on the safe side.
Binding - You will need 110 inches of binding.
Backing fabric - a piece of fabric that is 29 inches x 37 inches. This allows for some extra wiggle room.
Wadding - cotton or polyester wadding measuring 29 x 37 inches.
Thread
A sewing machine
A rotary cutting
A cutting mat
A ruler
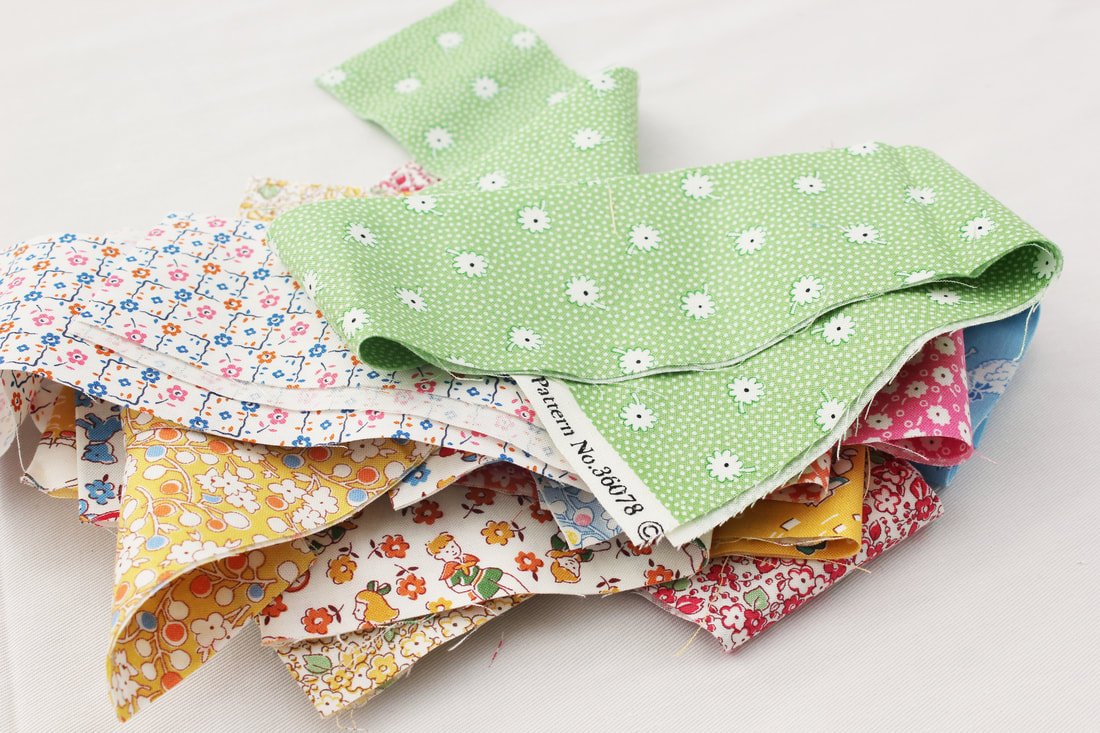
That's it! Gather your supplies and I will be back with the next steps - how to piece the quilt top. Happy sewing!