Hexagon Needle Book Tutorial
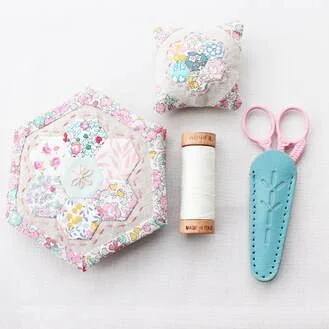
These little needle books are so lovely to make. I made mine completely by hand but you could use a sewing machine for some aspects of it if you wanted to. I'd been wanting to make a hexagon shaped needle book/sewing case for a long time but couldn't find a way to make it that I liked. When I saw Naglaa's tutorial on her Instagram page for quilt as you go hexies, I suddenly thought about using it to make needle books. So please check out her tutorial as it will help you in making your needle book.
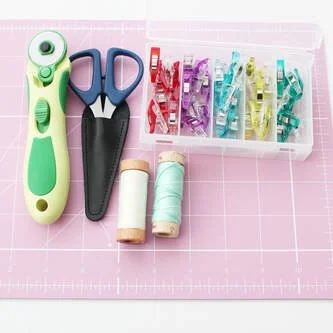
To make a needle book you will need:
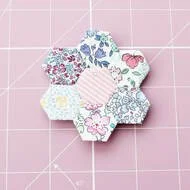
Seven, 1/2 inch paper hexagon templates for the hexie flower and scraps of fabric to make them.
Two pieces of linen fabric (or whatever fabric you'd like to use) cut into 2 inch hexagons.
Two pieces of cotton fabric cut into 2.75 inch hexagons. They will be on the inside of the needle book and will also create the edging on the front of the book.
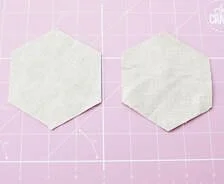
2 inch hexagons in linen
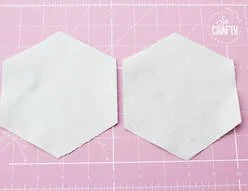
2.75 inch hexagons in cotton fabric
A piece of felt 7.5 inches by 4 inches
Two pieces of wadding/ batting or flex foam, cut into 2 inch hexagons.
General sewing kit - needle, thread, embroidery thread, scissors, rotary cutter, glue pen, wonder clips or pins.
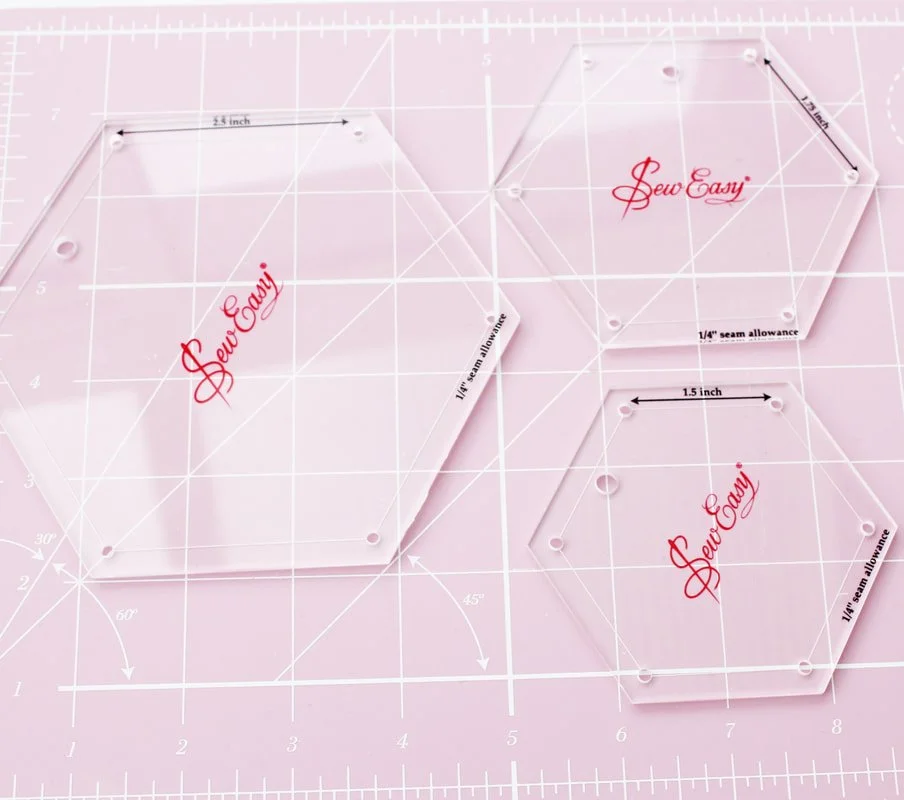
2.75" 1.75" and 2" inch hexagon templates.
Note - If you don't have acrylic templates for cutting your fabrics into to the correct sizes of hexagons, I've created a printable set which you can find here. All you will need to do is print them off, cut them out, place them on top of your fabric to cut around them.
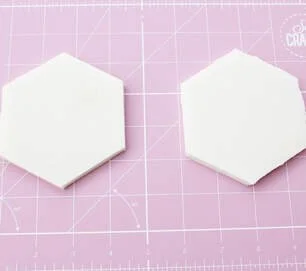
2 inch hexagons in flex foam/ wadding
1. Make a hexagon flower using your preferred epp technique. Take a piece of your linen, fold in half and half again to find the centre. Place your hexagon flower in the centre and appliqué in place. Take care to have your hexagon with a point at the top and line the hexagon flower up with this point.
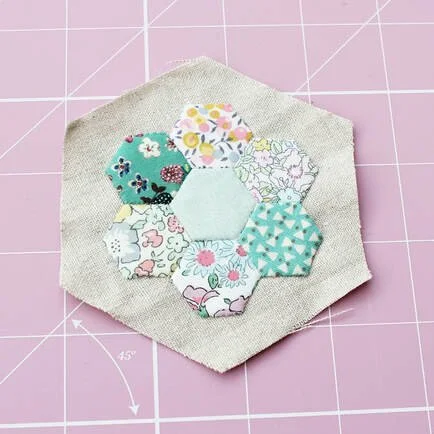
2. Add a running stitch around the edge to frame the flower and embroider a little flower in the centre if you wish, using a lazy daisy stitch and a French knot.
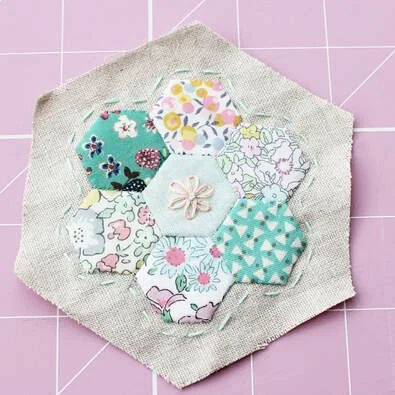
3. Create a quilt sandwich. Place your large, 2.75 inch cotton hexagon right side down and put the hexagon made from wadding or flex foam on top in the centre. Place your linen hexagon on top and ensure it is central.
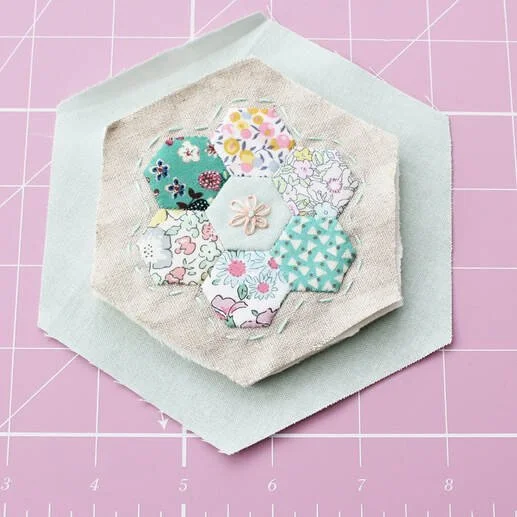
4. Fold one edge of the larger hexagon inwards by about a quarter inch and press.
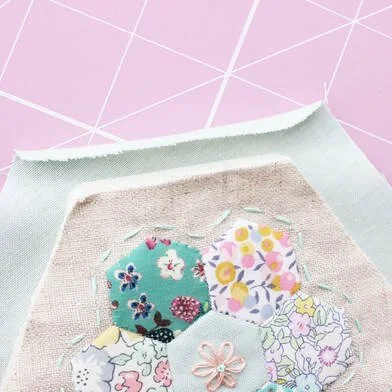
5. Fold it over again to overlap the linen and use a pin or a wonder clip to hold it in place.
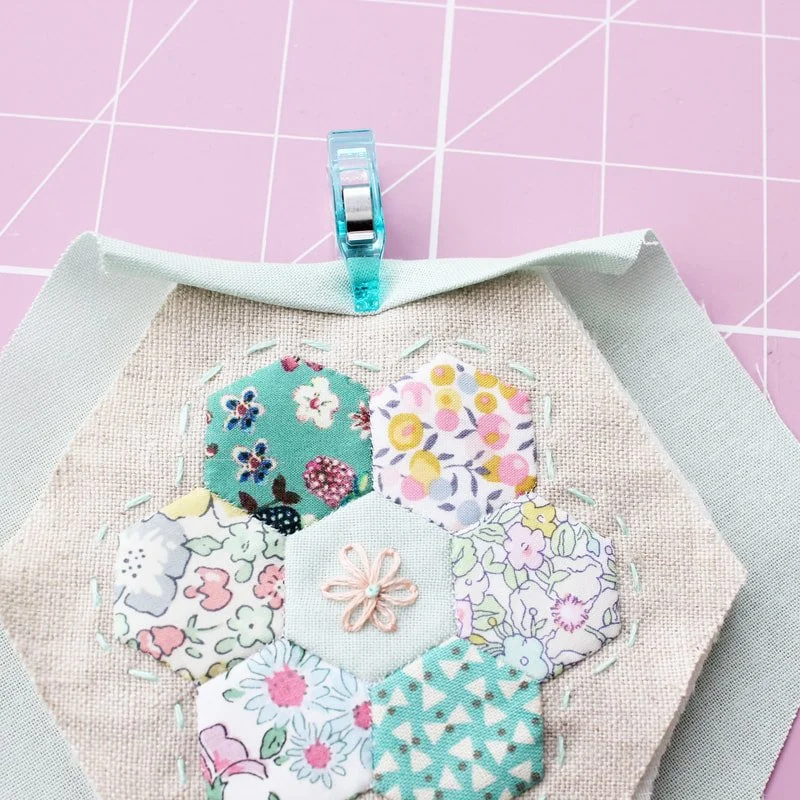
6. Repeat for the other five sides of the hexagon, taking care to line up the corners to mitre them.
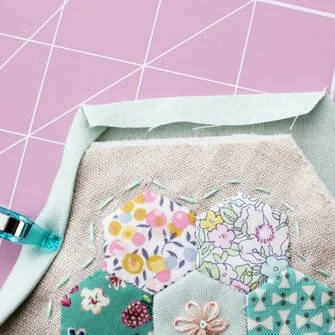
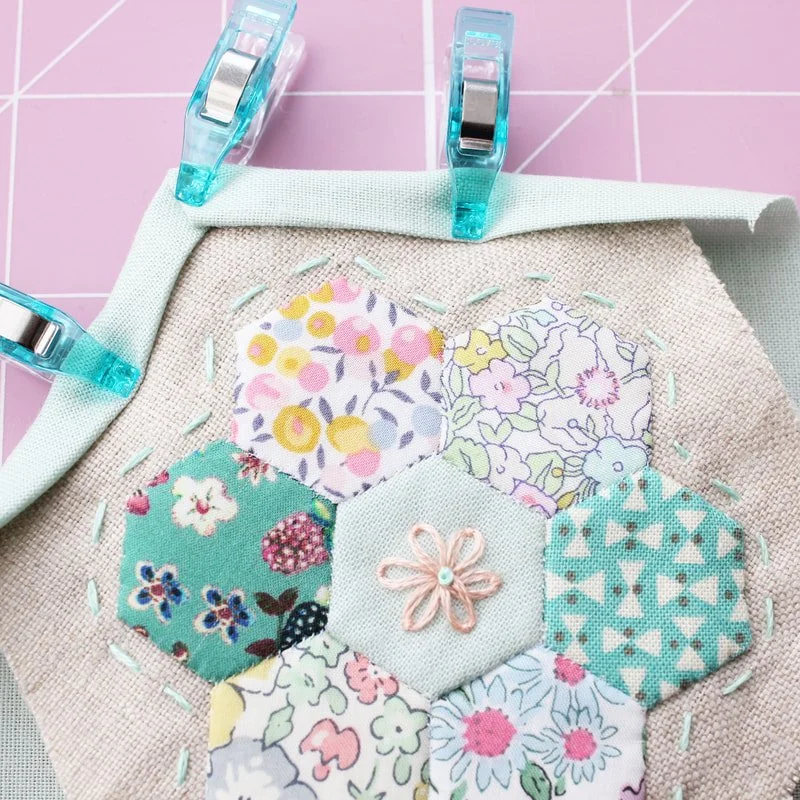
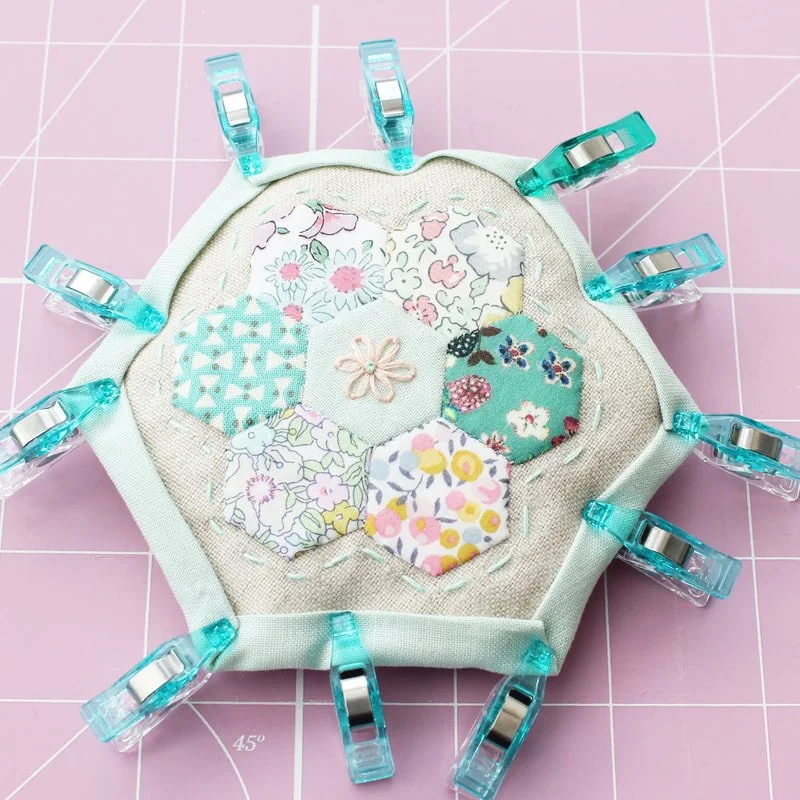
7. Use a blind hem stitch to sew it in place.
8. Now the front cover of the book is complete, layer up the remaining pieces of linen, wadding and cotton into a sandwich and repeat steps 4,5,6 and 7 to make the back cover. You can of course add a little embroidery detail to the back piece of linen first if you wish.
9. Now the front and back covers are done, put them together with the insides facing each other and join them together along the spine with a ladder stitch.
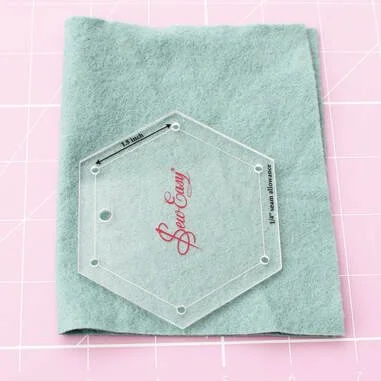
10. Fold your felt in half and place your 1.75 inch hexagon template, half an inch from the folded edge as in the photo above. Cut around the template.
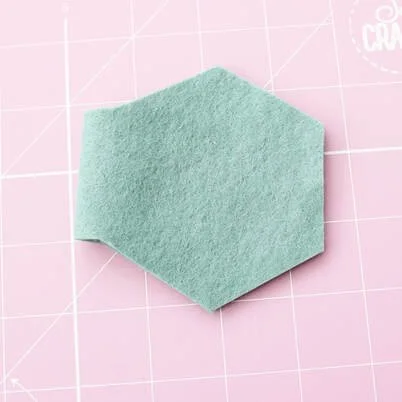
Unfold and you will have two "pages" joined in the centre.
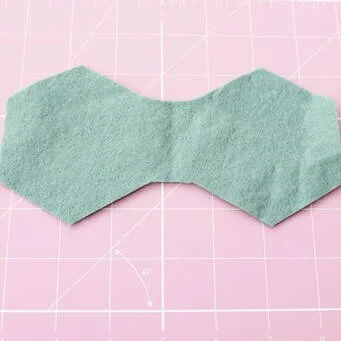
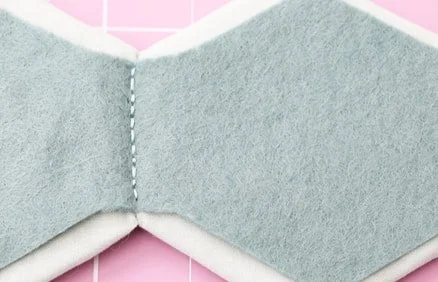
11. Place it inside your needle book, lining up the points of the hexagons so they match, and stitch in place down the centre taking care just to catch the fabric from the needle book and not to stitch all of the way through.
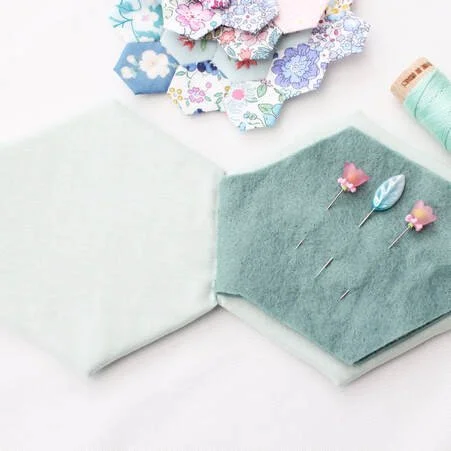
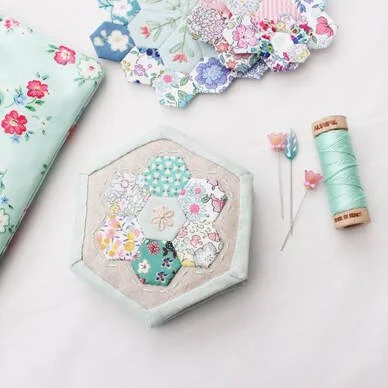
Your needle book is complete! The finished size is approximately 3.75 inches in diameter and 4.25 inches tall. Fill it with needles and pins to keep them safe. I hope you like this tutorial. If you make one and share it on Instagram, please tag me so I can see it! If you need any support in making one or have any questions please get in touch via instagram or using the contact form on the home page of this website. Happy sewing.